Hey, check out my Modern Python Projects course. It's an extended version of this workshop!
Setup
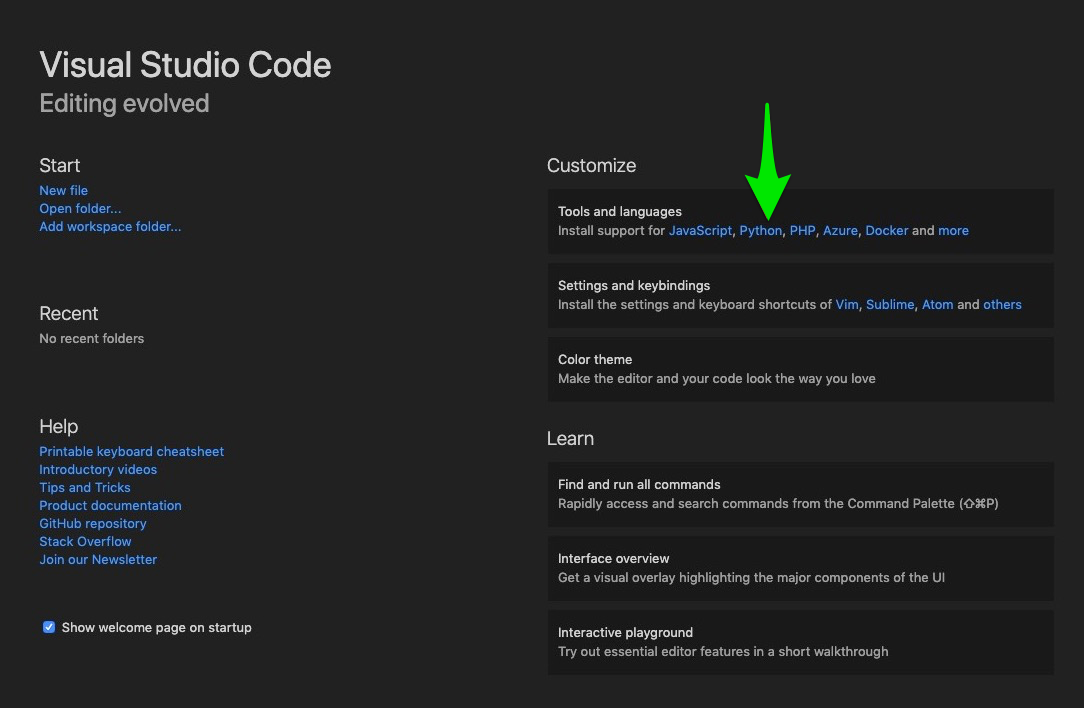
After you install VS Code, you are automatically taken to the “Getting Started” website that explains the basics of how VS Code works and also gives you some suggestions on how to set it up depending on which programming languages you are using.
So, as the “Getting Started” page suggests, there are a few things that you might want to do after the installation:
Install Python extension
To work with Python, we need Python extension - the most popular of all the VS Code extensions. This extension contains everything that you need for writing Python in VS Code:
- IntelliSense (code completion, syntax checking, code navigation, etc.)
- Linting (flake8, pylint, and friends)
- Formatting (black, autopep8 or yapf)
- Different debuggers (for Django, Flask, or vanilla Python modules)
- Ability to create and detect Python environments and some simple code refactoring (variable extraction, method extraction, and import sorting).
When you open the VS Code for the first time, you will see a suggestion of Python package, so you can just click it and it will be automatically installed:
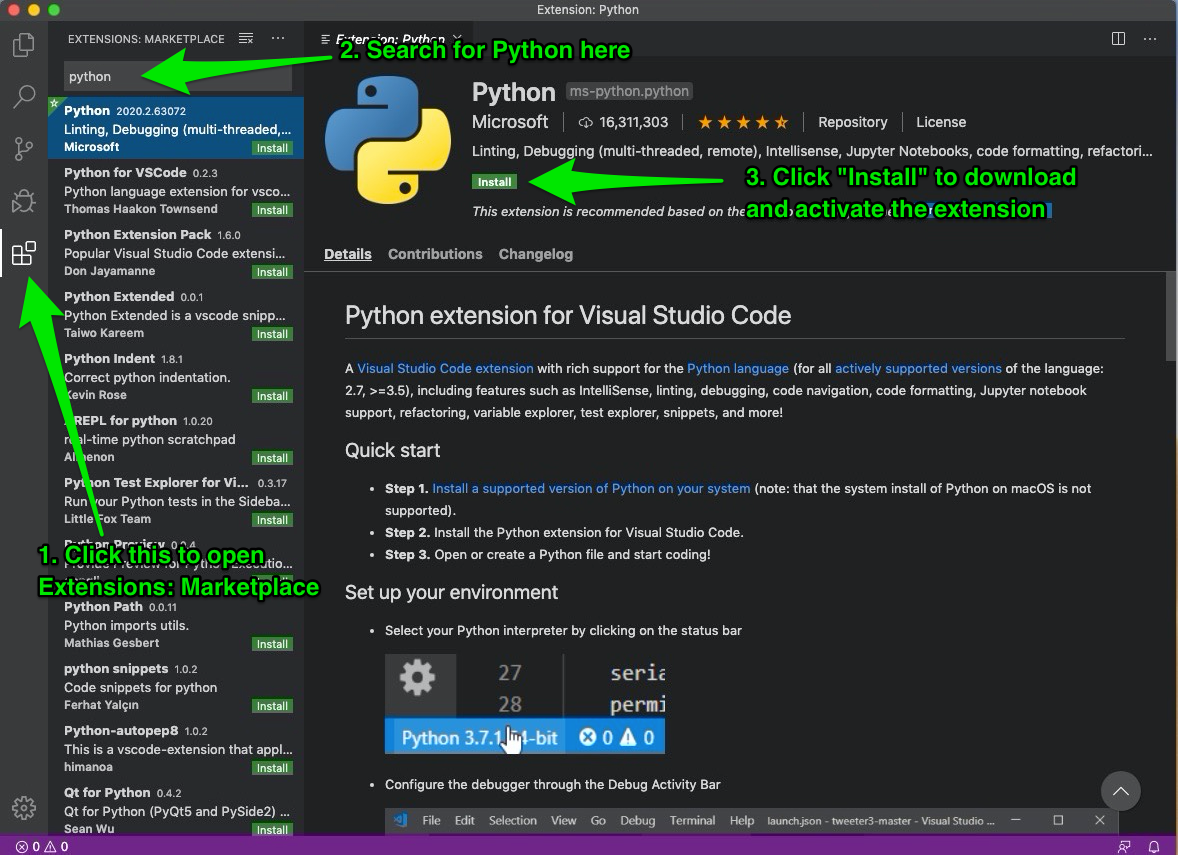
Otherwise, you can install it from the Marketplace - this is how you would normally install all the extensions in the editor. Just open the Marketplace sidebar tab, search for Python, and click “Install”
Install a linter
After you install Python extension, if you try to open a Python file, VS Code will probably ask you if you want to install a linter. Linter is a tool that will point out some easy to fix problems with your code.
Some of the typical problems that it will report includes:
- You import a module or function but you don’t use it
- You try to use an undefined variable
- You put a break statement outside of a loop
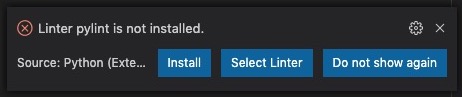
There are plenty of different linters for Python, and VS Code will support most of them out of the box. The pylint that VS Code is suggesting here is not the one that I would recommend, so instead click “Select linter” and select flake8 from the list. Flake8 is another popular and widely used linter that is not as strict as pylint. Once you choose it, VS Code will complain that this time “flake8” is not installed, so click the “Install” button.
Keep in mind that installing a linter that way will install it globally. In the next part of the workshop, I will tell you more why installing packages globally is a bad idea, but for now, let’s leave it like that.
If you are using a brand new Mac OS installation (with the default, system-wide Python 2.7), when you try to install a linter, you will see errors that there is no “Pip” installer available. Hang in there! In the next part of the workshop, I will show you how to install and manage different Python versions. For now, ignore those errors and skip the linter installation.
Choose a different Python interpreter
If you have different versions of Python installed on your computer, VS Code will probably detect that. You can change which version of Python you are using by running the “Python: Select Interpreter” command or clicking its name in the left bottom corner of the screen.

What’s really nice is that VS Code will also detect if you are using a virtual environment, and it will let you select it as the interpreter. I will talk more about virtual environments later in this course. For those of you who don’t know what a virtual environment is - it’s a way to separate different Python packages installed on your computer. The best way to use virtual environments is to create a separate one for each project that you are working on. That way, you won’t mix their dependencies on your computer.
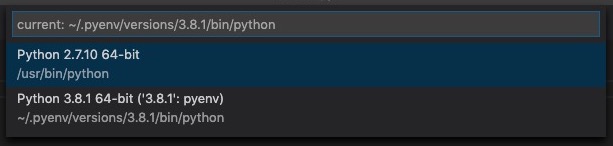
If you don’t choose a correct virtual environment, the “Go to Definition” command might not work correctly, so always make sure that you are using the correct one. Here I have only 2 Python interpreters - the 2.7 system Python and a 3.8.1 version of Python that I just installed. On a freshly installed operating system, you will probably see only one.
Add code command to your terminal
One final step that we should do is to enable the code command in our terminal. It will let us open any file or directory in the terminal by simply typing code <file_or_folder>.
Open the command palette and run “Shell command: Install ‘code’ command in the PATH”. This command creates a symlink from /usr/local/bin/code to the location of VS Code app. So if, for some reason, this “Install ‘code’ command in PATH” fails, you can create the symlink yourself.
On Windows this step is done during the installation, by checking the “Add to PATH” option.